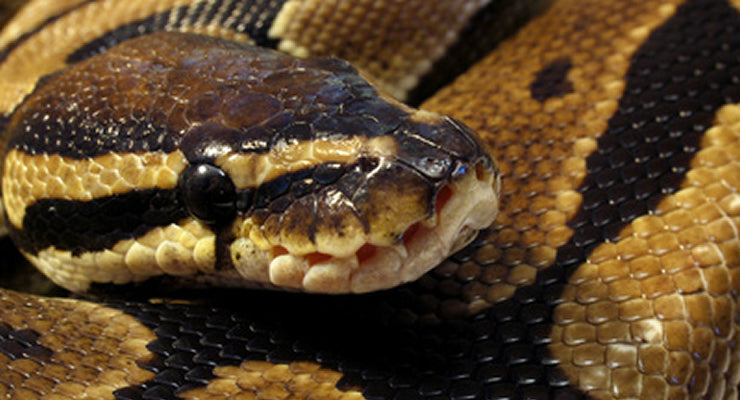

How to set up a royal python enclosure
The royal python is one of our best-selling snakes for beginners or intermediate keepers as they normally have a brilliant disposition, are easy to keep and stay a manageable size. We’ve had another look at our online setup list and have made a few changes that should make it even easier to care for your pet python. Every heat source in the enclosure is now controlled and rather than using a white LED for lighting we now use a small T5 UVB unit which will be much nicer for the snake. Here are our instructions on how to set up the enclosure:
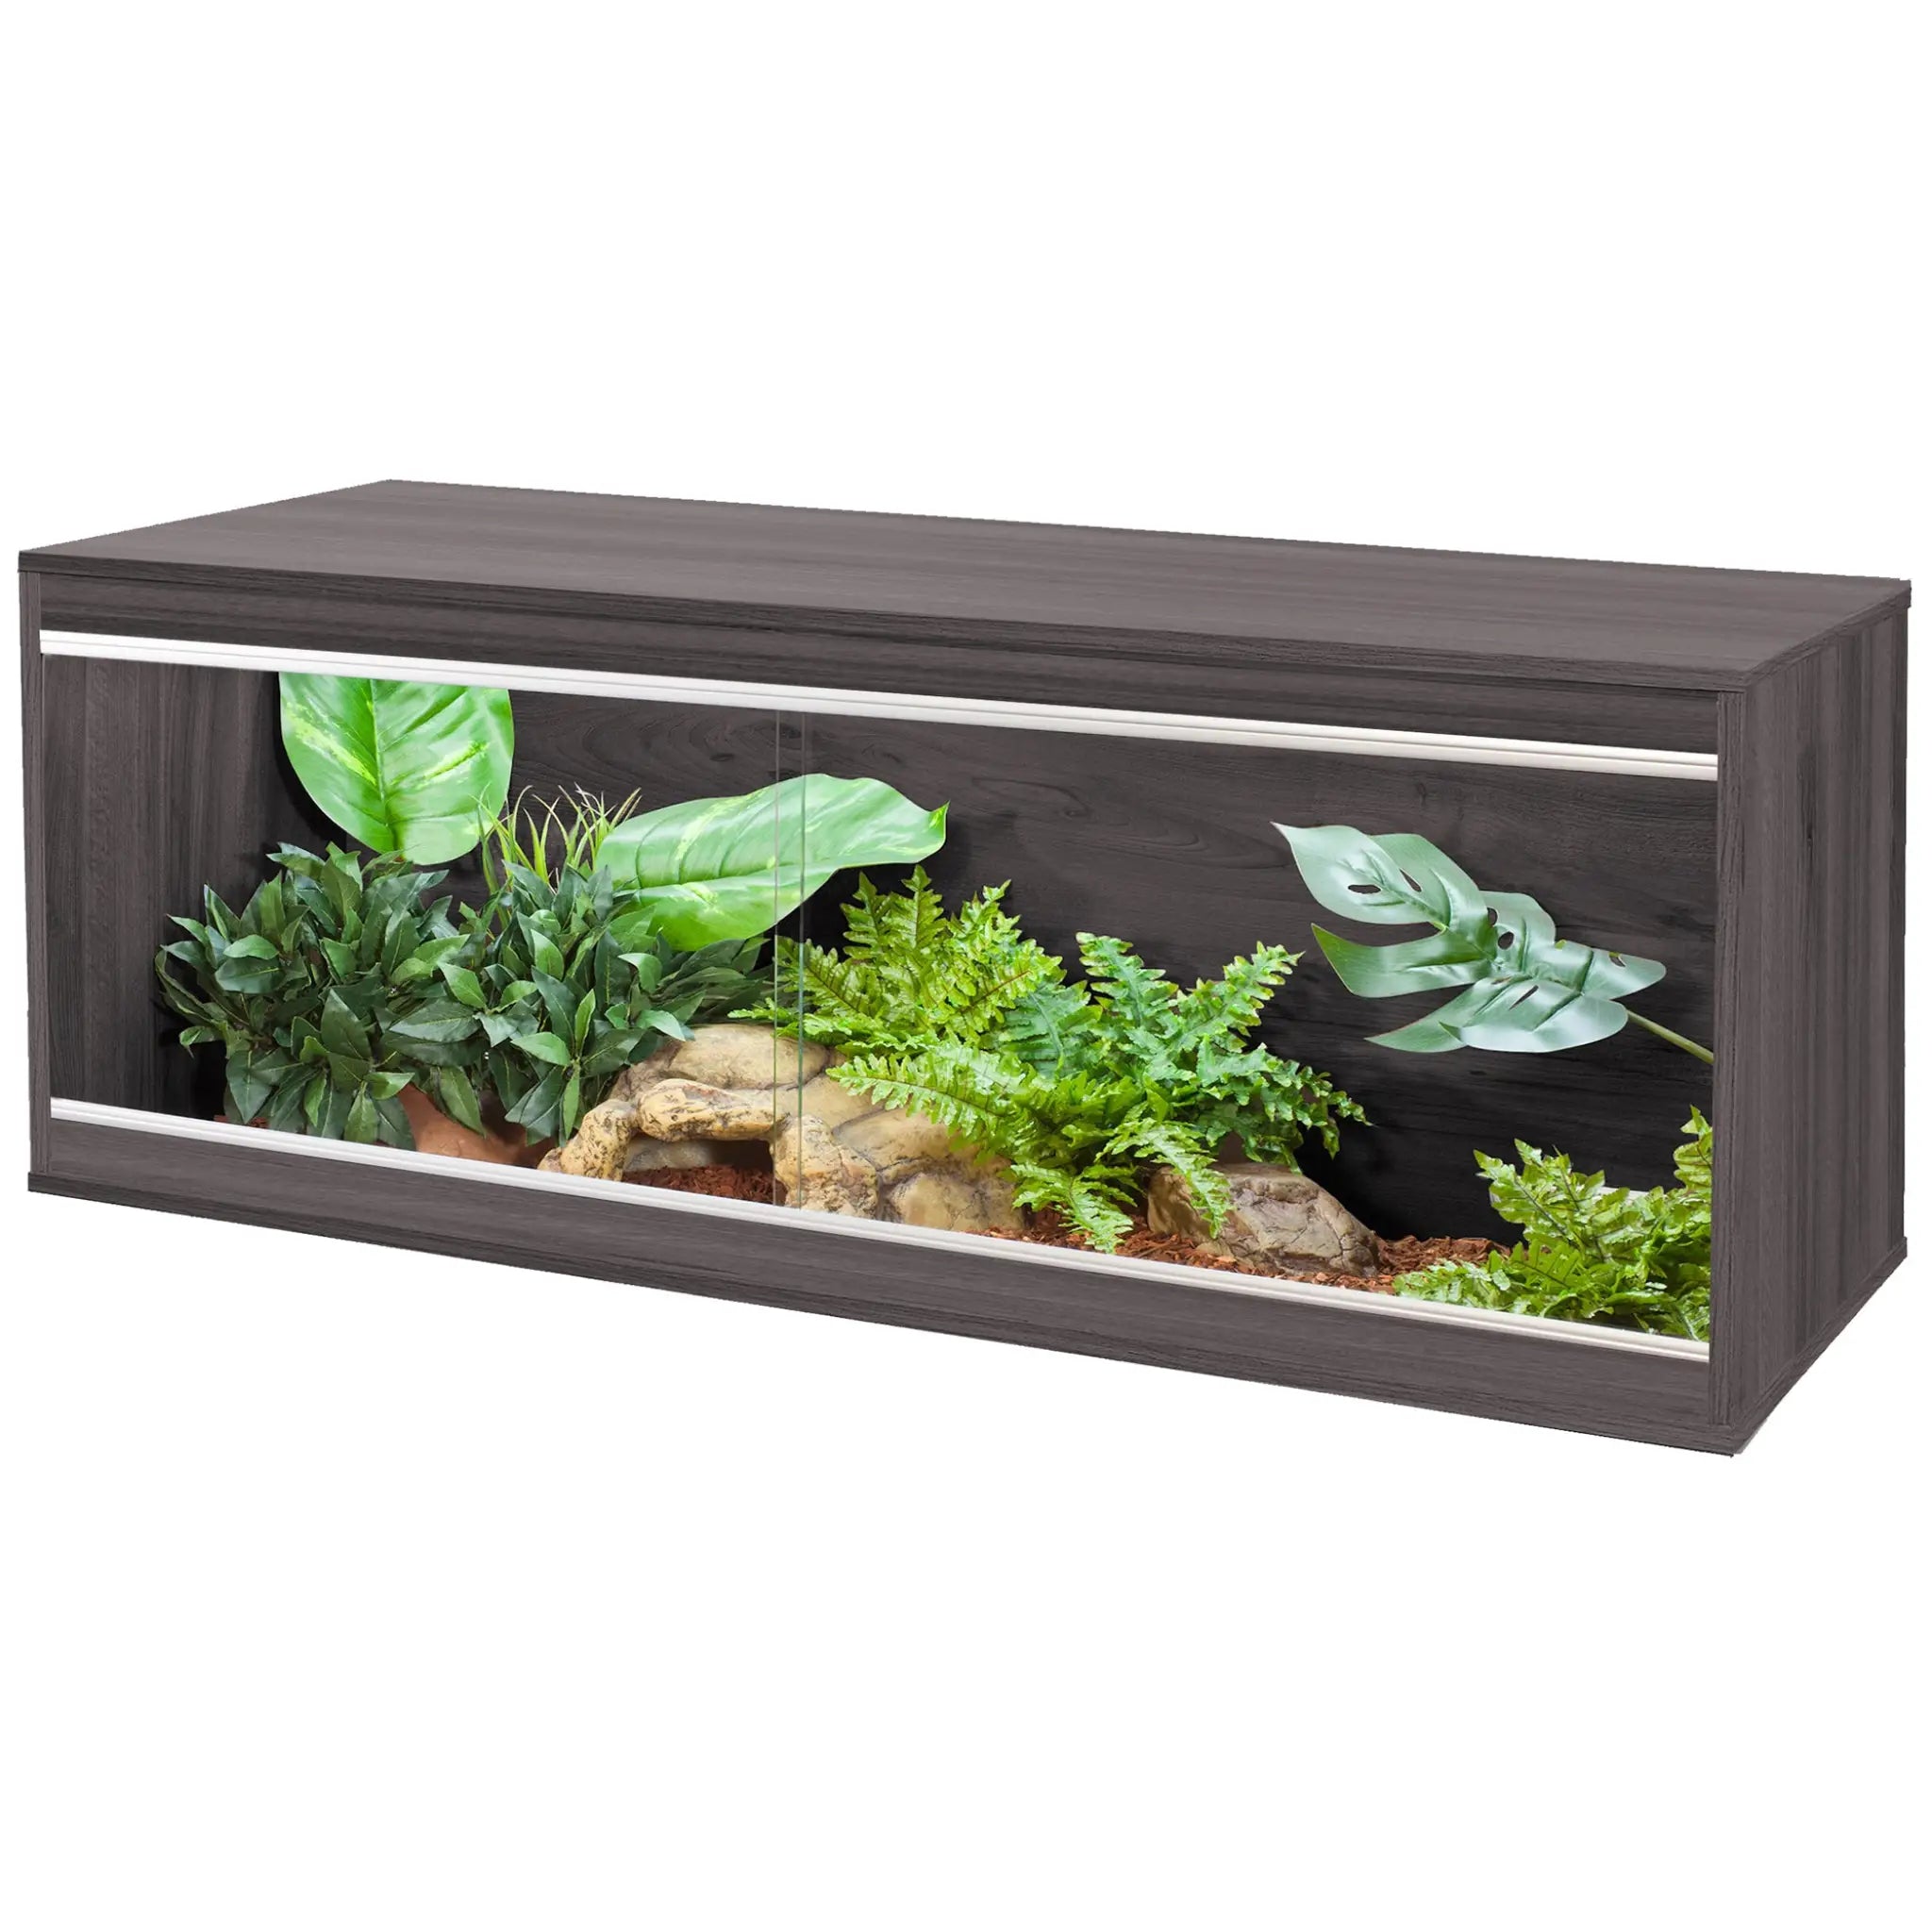
Building your Royal Python Setup
The Vivexotic vivarium and cabinet are flat packed but come with easy to follow instructions and should take around 20 minutes per unit to construct. They mostly use locking screws so don’t worry if you make a mistake, they can be taken apart and re-built. Once the vivarium is constructed you should seal the joints inside with aquarium sealant. This will extend the life of your vivarium by keeping the joints water-resistant. Make sure the panels are clean and dry before applying. Once applied you will want to leave the enclosure for at least 12 hours so the silicone can set and the fumes can disperse before introducing your royal python to its enclosure.
For the following sections, the cables for each piece of equipment will be fed through the vents at the top or bottom of your vivariums back wall. The Vivexotic range now includes removable vents large enough to fit the entire plug through so you should not need to re-wire any plugs.

Creating the Basking Area
This set up is designed to get to 88-90 Fahrenheit on the hot end but still leave the other side cool. To do this you will want to choose one end of the enclosure to be your hot end and one end to be the cool end, all of your heating equipment should be placed in the hot end. If you plan to stack the enclosures we would advise you keep all of the warm ends on the same side so that they do not interfere with the cold side of the vivarium above or below.
We provide our daytime basking temperatures using a single ceramic heat emitter, surrounded by a guard and controlled using a pulse proportional thermostat. As this unit does not put out any light so it can be used for both the day time and night time heating. We usually aim to have the heating unit around an inch or two from the back and sidewall. First, put the guard in place and mark where the screws will go in, then remove the guard and hold the lamp holder to the ceiling marking where you would like it to be fixed. The ceramic lamp holder comes with a bracket attached so you can line it up with your markers and screw it directly to the ceiling. Once in place, you can screw the ceramic lamp into its holder and get the power cable through the vent. With everything in place, you can line up the guard with your previously marked points and attach it to the ceiling. The guard will have a small hole along the top of one length, this is designed to let the power cable through and should be at the back of the unit.

Controlling Temperatures
In this set up the ceramic heat emitter will be controlled by a pulse proportional thermostat. Setting the thermostat up is very easy. Your thermostat will have 3 wires attached to a central box, on the central box is a dial with a list of temperatures around its face. One of the wires ends in a plug, this is plugged into your power source. The second wire will end in a socket, you plug your ceramic heat emitter into this. The third wire ends in a sensor, this can be fed into the enclosure through one of the bottom vents and should be fixed to the back wall around 1/3 of the way from the hot end and a few inches off the floor facing towards the warm end. On the face of the thermostat, you should set the temperature to 88 Fahrenheit. This will ensure that 1/3 of the enclosure will be around 88-90 Fahrenheit. As the unit will only turn on when temperatures drop below 88 Fahrenheit so it can be left on all of the time.
Though the thermostat is very reliable however, it is always best to have a thermometer near the warm end to make sure temperatures are correct. We check all of ours daily to make sure everything is functioning correctly.

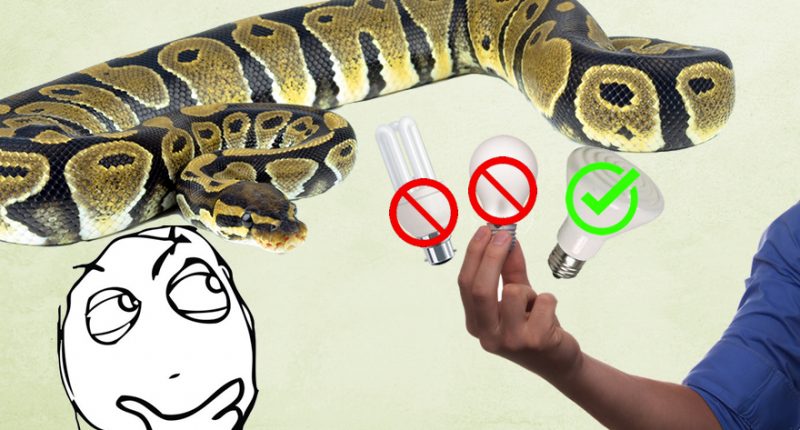
Lighting the Enclosure
As our main heat source does not produce any light for the royal python we need to install a second unit to provide light during the day time. Having a regular day/night cycle will help keep your python happy and healthy. Previously we found the easiest way to do this was with a magnetic LED strip but there are now similarly priced T5 UVB units that do a much better job. Reptiles can see into the UVA spectrum and would naturally receive UVB from the sun promoting the use of calcium in their diet and providing a ‘feel-good’ feeling. We fix the small T5 unit to the ceiling on the warm side and keep it on for 10-12 hours a day to simulate a natural day/night cycle.
Not all reptiles want to be in the sun all day so it is important that you provide full cover and partial cover hiding spots throughout the enclosure.

If you have any concerns or need any further advice please call us on 01604753823 or by email at sales@reptilecentre.com.