Free Delivery
on order over £99*
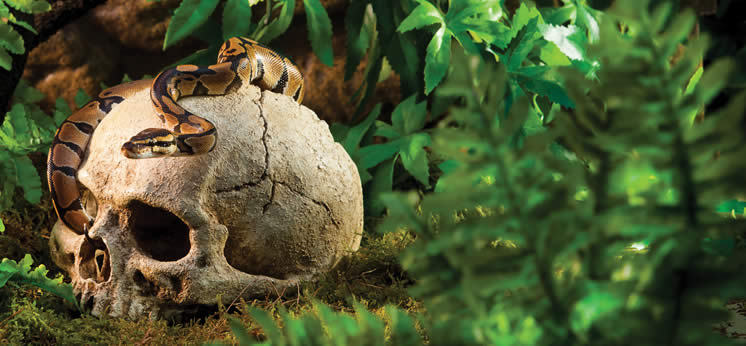
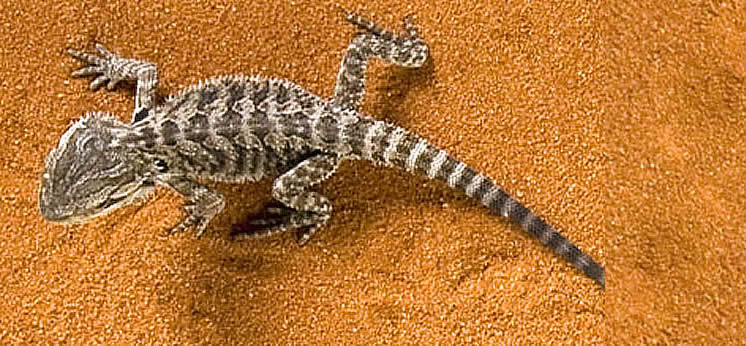
Want to know about reptiles? Northampton Reptile Centre is here to help. We want you to enjoy keeping reptiles because reptile keeping is a wonderful hobby.
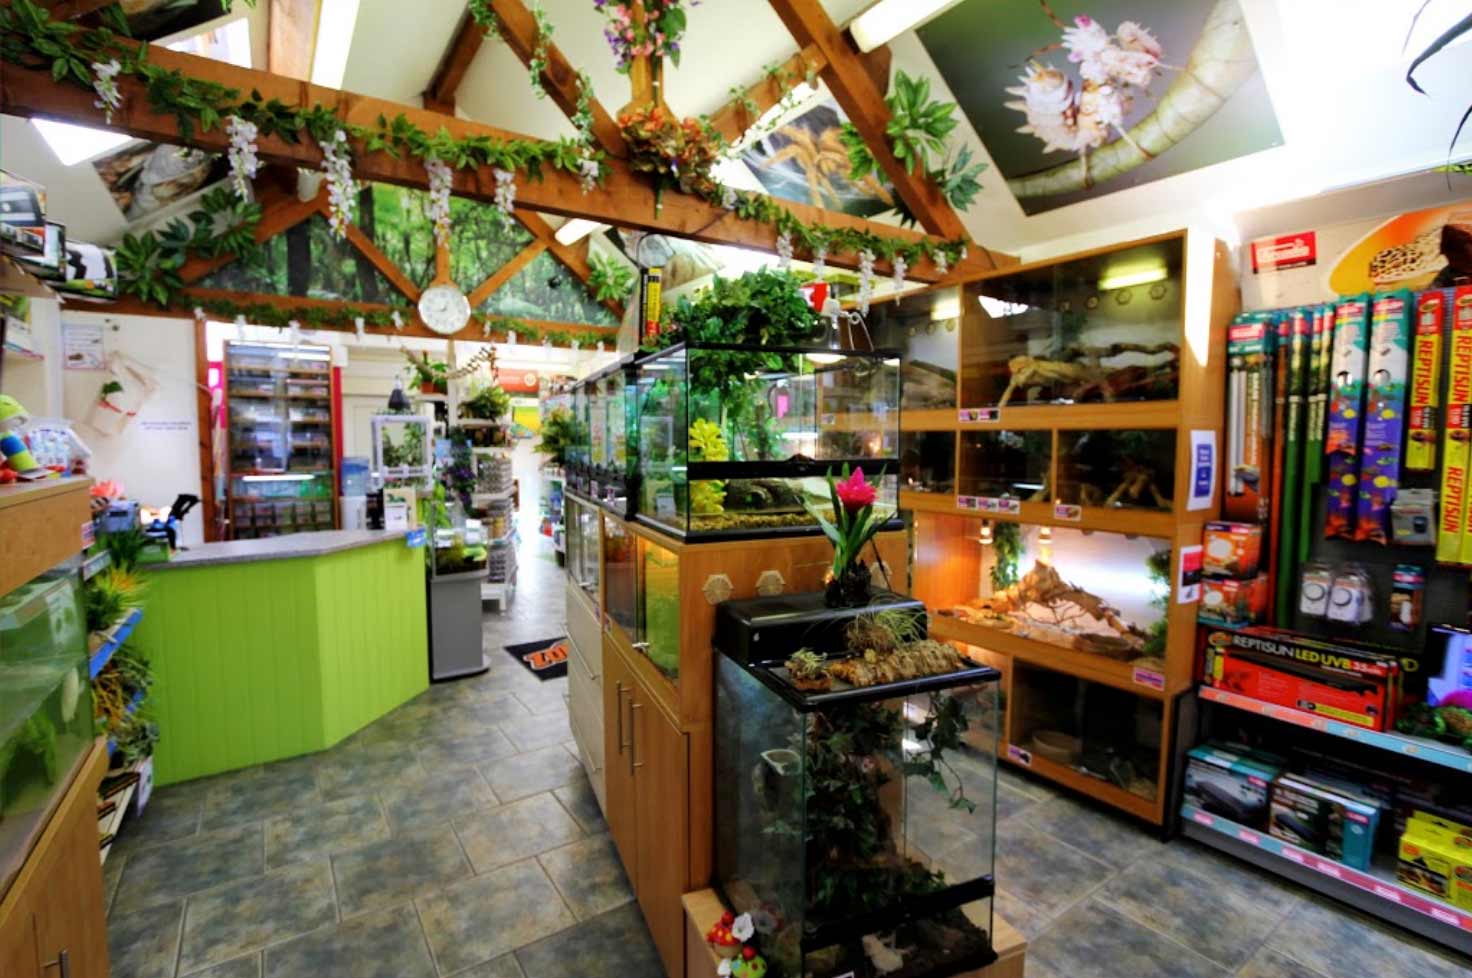
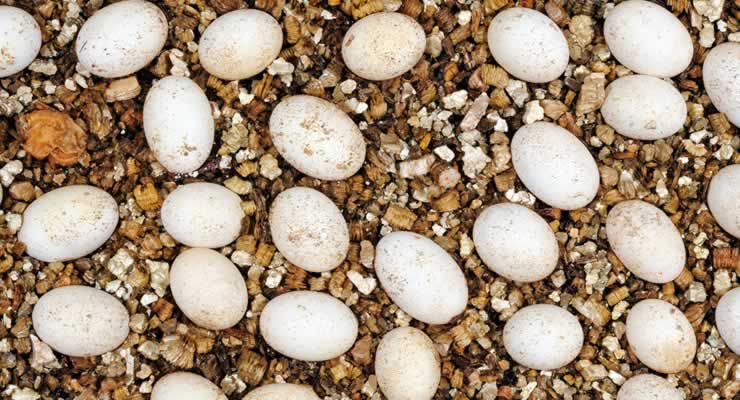
Northampton Reptile Centre is one of the oldest specialist reptile shops in the UK having first opened in 1995. It was also the first reptile shop to pledge to sell only captive bred reptiles. We believe this is best for both the reptiles and the keepers.
Throughout this website, you will discover everything you need to know to keep and care for reptiles at home. There are hundreds of blog articles and care sheets for you to browse through.
Over the past 25 years, we've used every product available and will pass that knowledge onto you by only recommending the best products for your reptile.
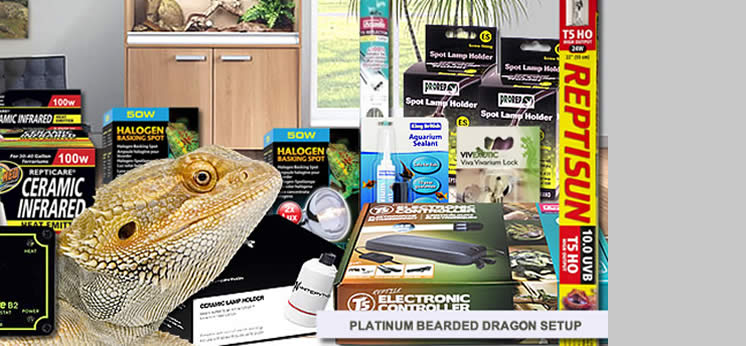
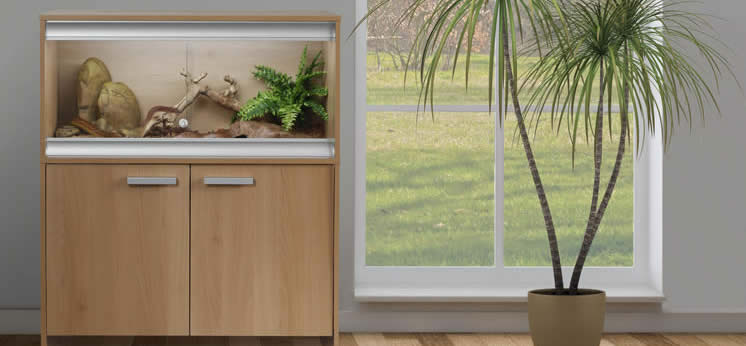
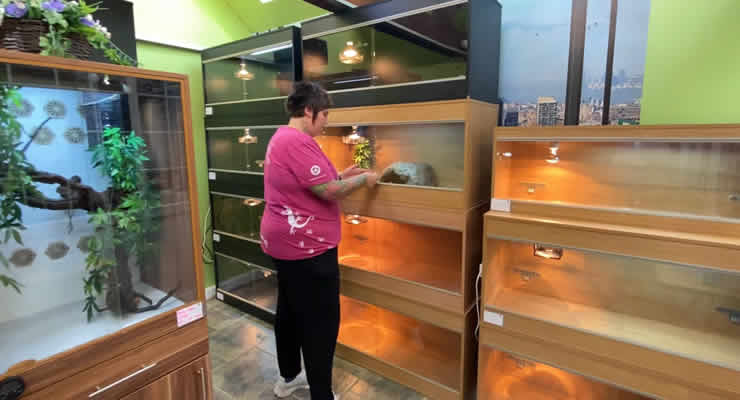
To help you, we've created a wide range of reptile setups to suit all animals and budgets.
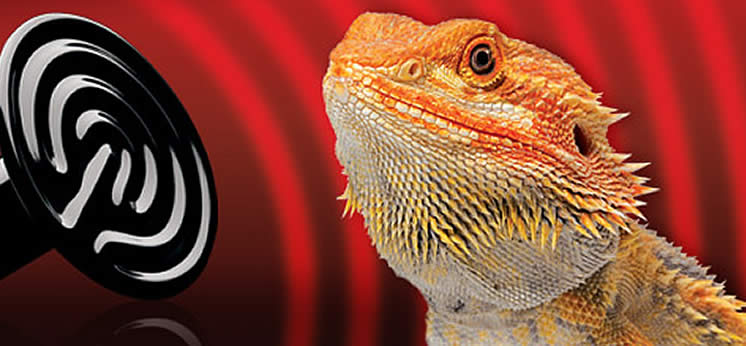
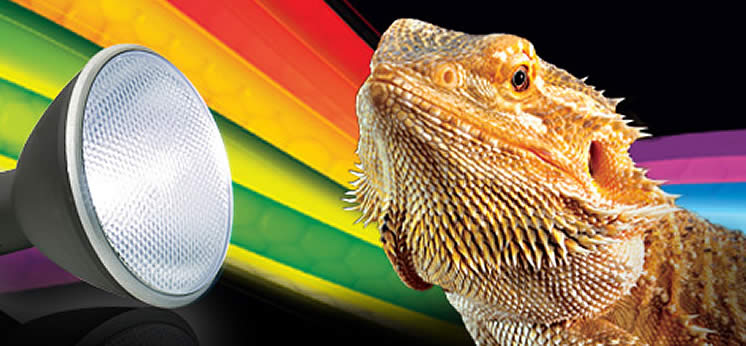
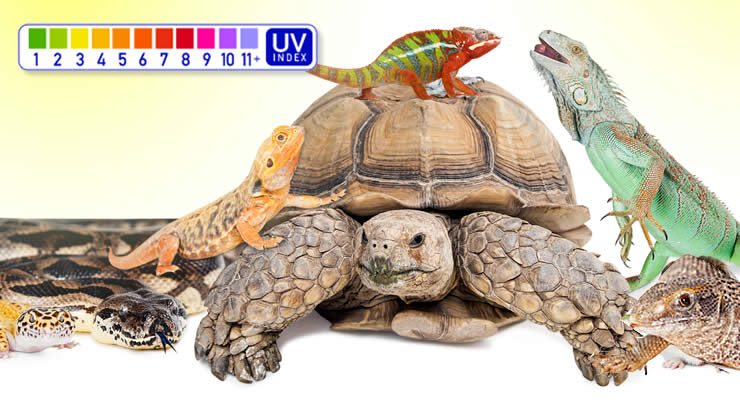
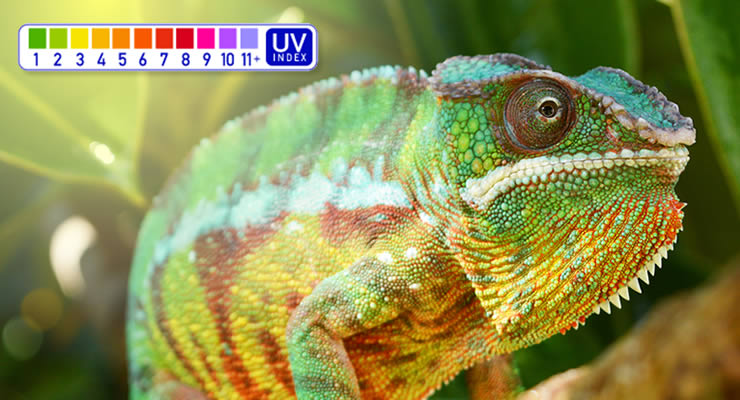
It's important to provide your exotic pets with the correct housing, heating, UVB and decoration. We'll make sure that you get it right.
Our expert advisors are on hand to answer any questions you may have by phone, email, social media or live chat (check the bottom right of the screen to see if we're online now!).
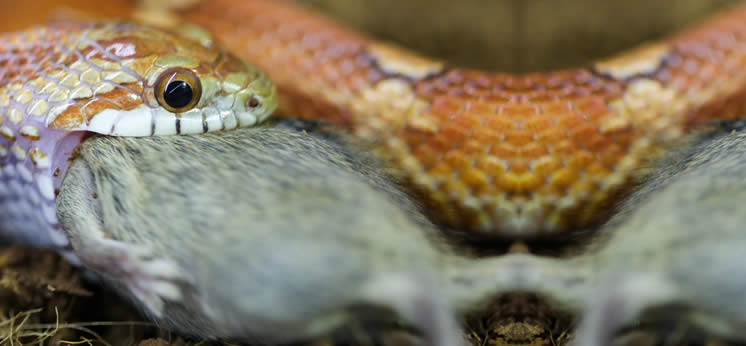
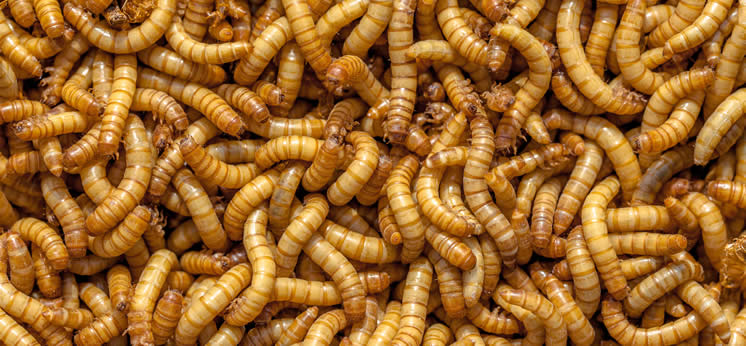
We even deliver reptile livefood and frozen snake food fast, it's the freshest reptile food available and is very convenient. Livefood is also available via our subscription service to make your life even easier!
Don't forget, if you still have any questions, you can contact us anytime. Our enthusiastic reptile team are always on hand to help you.


 In Stock