Step 1
Select your level of setup
Select between our Starter, Advanced, and Ultimate kits. Hover over products for a closer look.Starter Kit
Advanced Kit
Ultimate Kit
Step 2
Select your optional extras
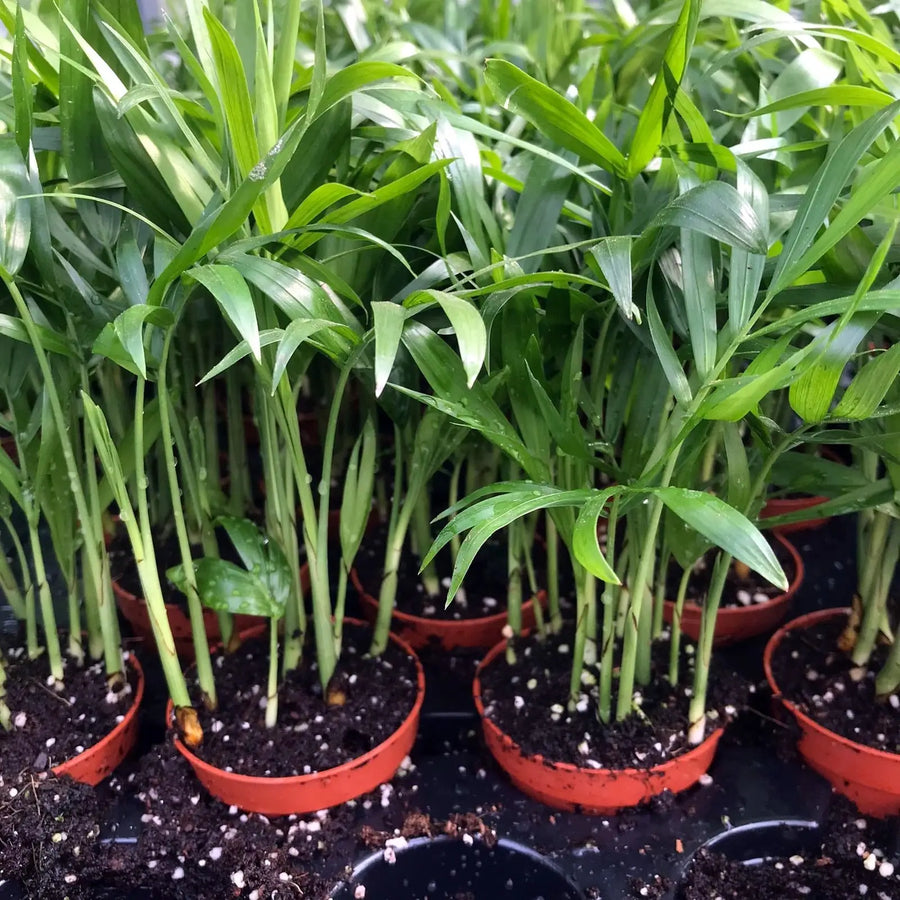
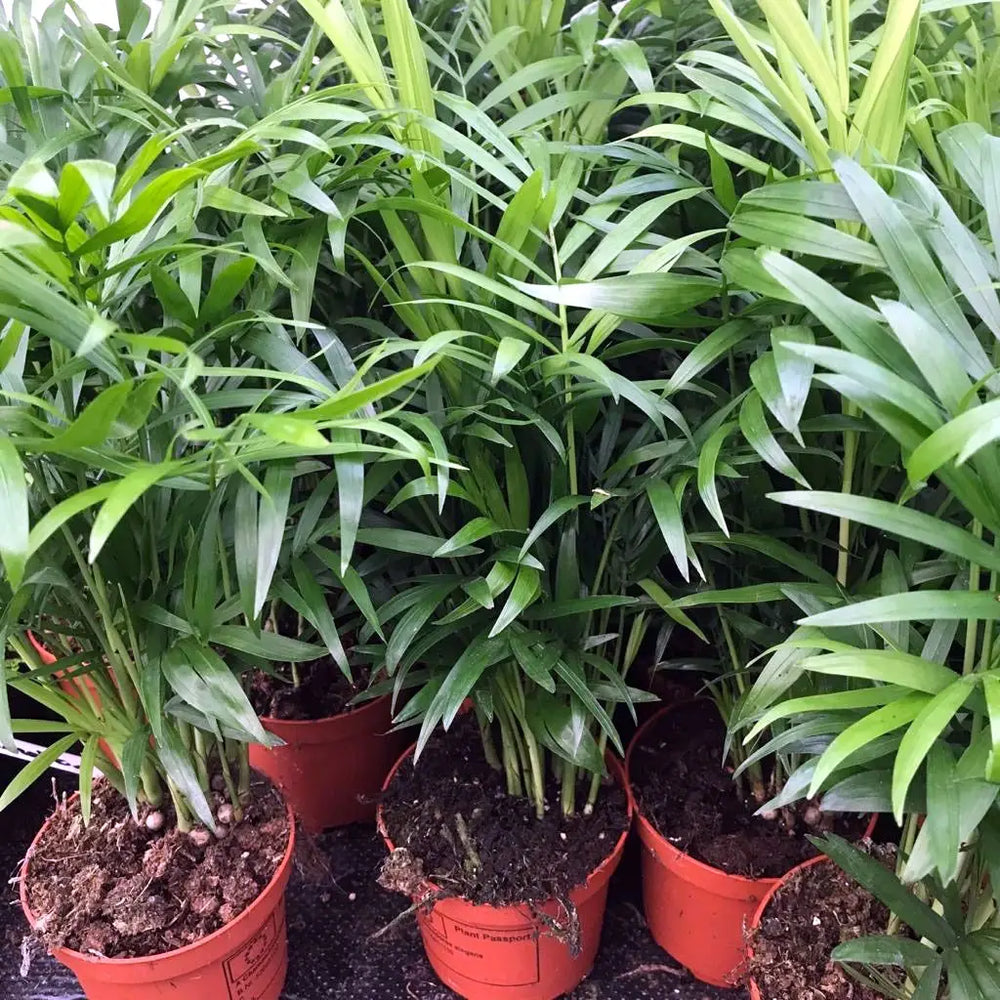
Want to spruce up the place with an extra plant or two?Optional Extras
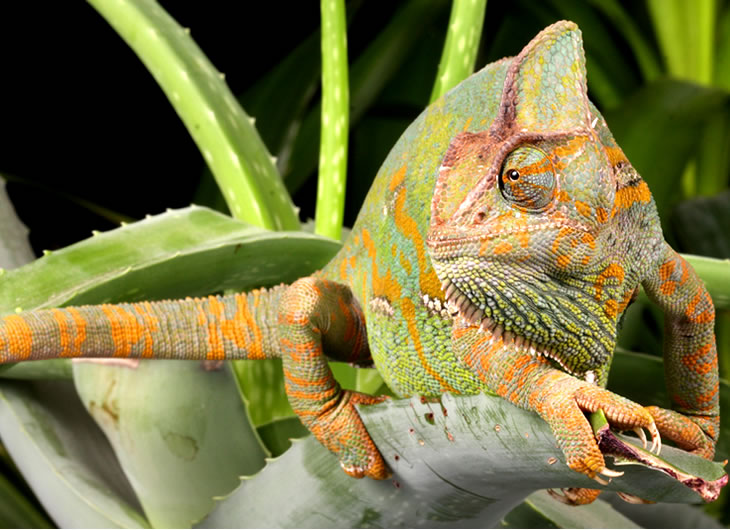
Building your Chameleon Setup
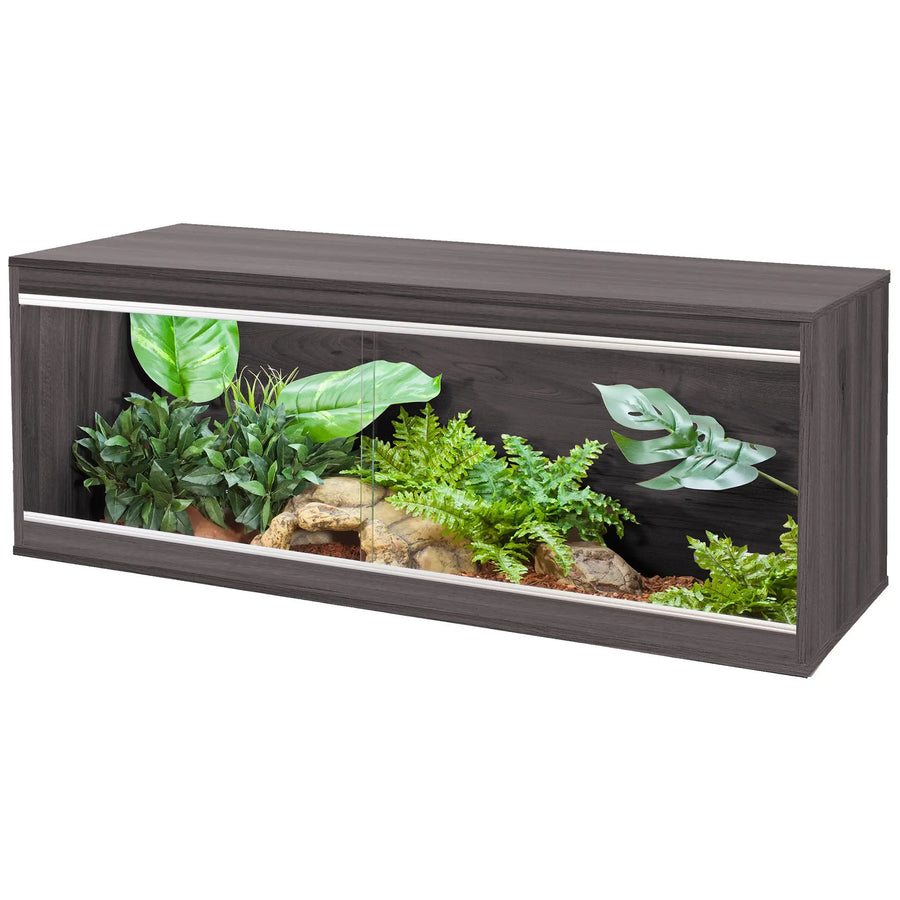
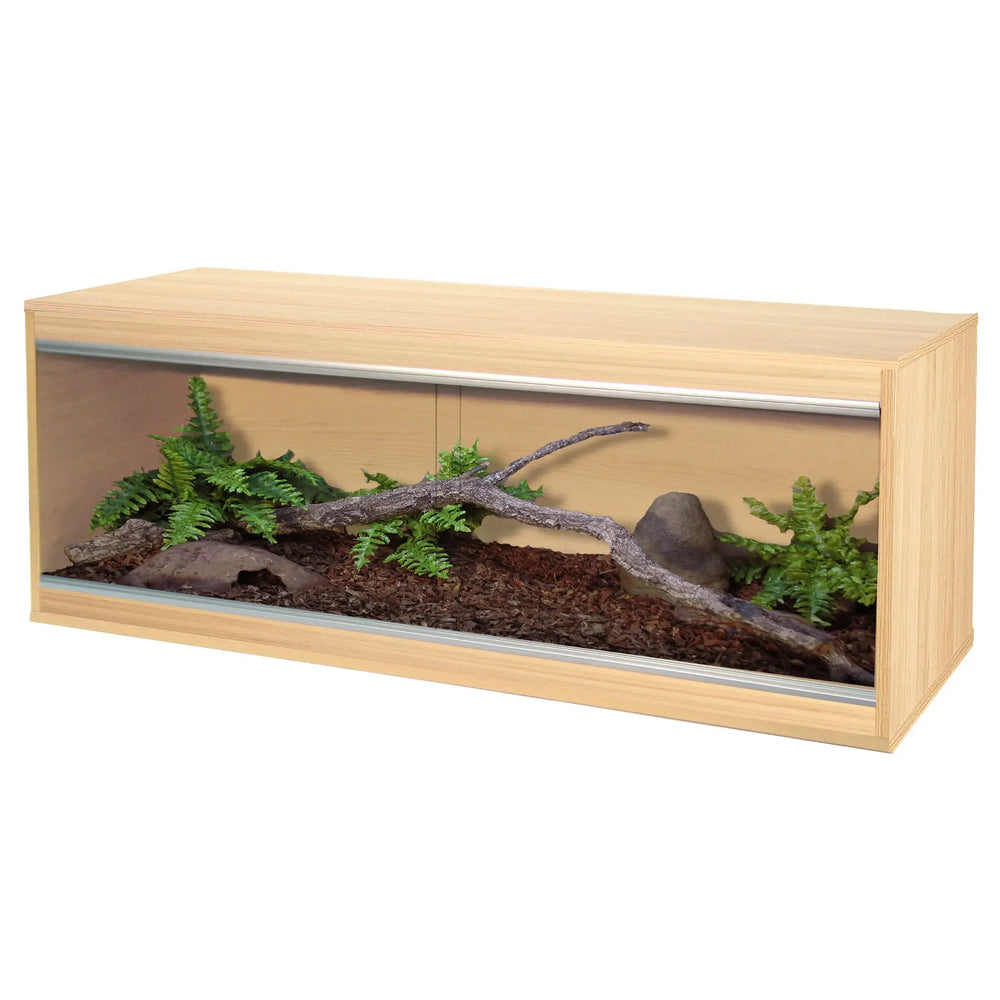
It's very easy to set construct this arboreal chameleon setup. The vivarium and cabinet come with instructions and should take around 20 minutes per unit to construct. They mostly use locking screws so don't worry if you make a mistake, they can be taken apart and re-built. Once the vivarium is constructed you should seal the joints inside with aquarium sealant. This will extend the life of your vivarium and keep the joints water resistant. Make sure the panels are all clean and dry as possible before applying. Once applied you will want to leave the enclosure for at least 6 hours so the silicone can set and the fumes can disperse.
For the following sections cables for each piece of equipment will be fed through the vents at the top of your enclosure's back wall. The Vivexotic range now include removable vents large enough to fit the entire plug through so you should not need to re-wire any plugs.
Creating the Basking Area
This enclosure is designed to get to 100 Fahrenheit on the hot end but still leave the other side cool. To do this you need to choose one end of the enclosure to be your hot end and one end to be the cool end. All of your heating equipment needs to be placed in the hot end.
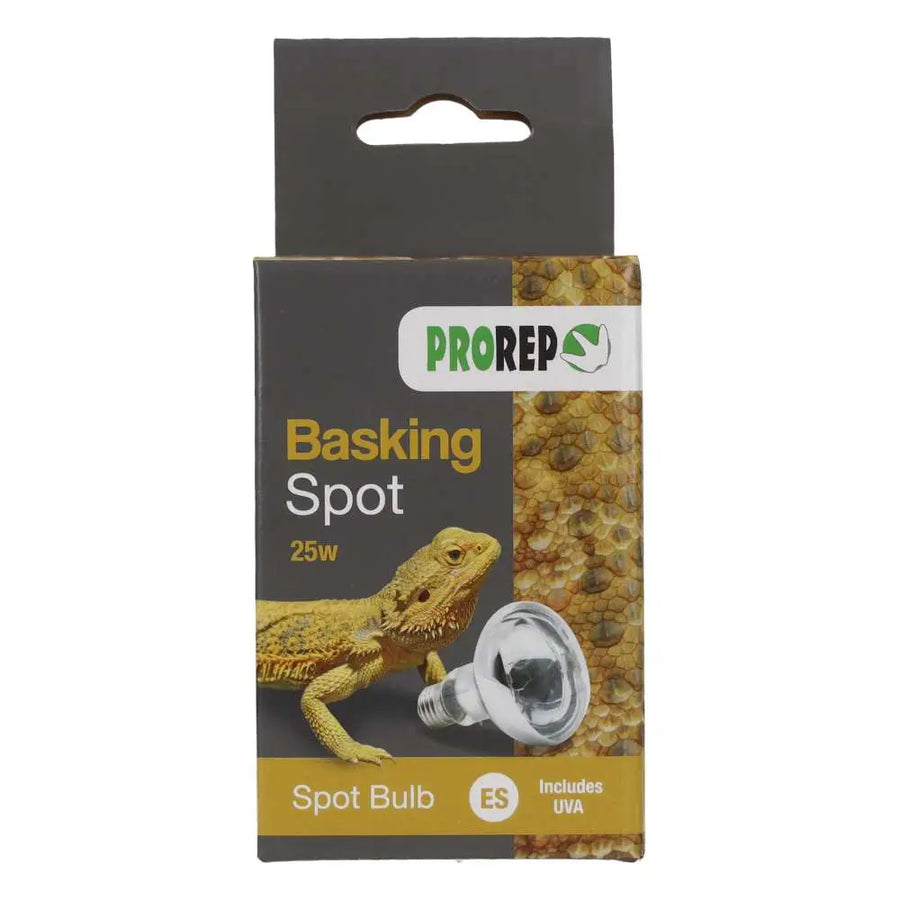
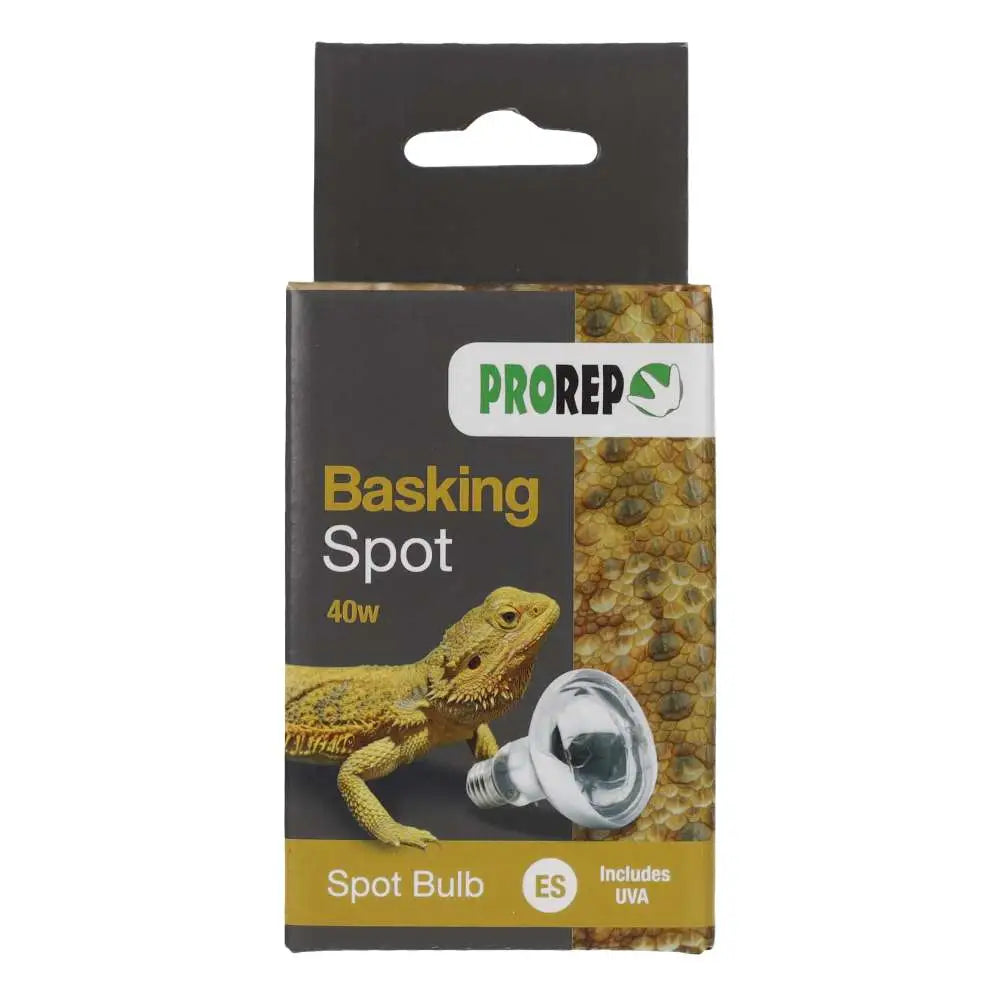
We provide our daytime basking temperatures using an intense basking spot lamp in a screw fit holder. These should be fixed to the centre of the ceiling as close to the warm side as possible. Once you have fixed the lamp holder to the ceiling a guard can be placed around it and screwed directly into the ceiling.
Night time Heating
These chameleons expect a night time drop in temperature so we would not usually use additional heating as long as the room they are being kept in is not extremely cold. A night time room temperature of as low as 15C would be fine.
Controlling Temperatures
As we are using only one heating source for the entire enclosure this set up is very easy to control. We attach the basking lamp to a high temperature dimming thermostat on the outside of the vivarium. Your thermostat will have 3 wires attached to a central box, on the central box is a dial with a list of temperatures around it's face. One of the wires ends in a plug, this is plugged into your power source. The second wire will end in a socket, you plug your basking lamp into this. The third wire ends in a sensor which can be placed in the centre of the back wall around 1/3 of the way from the hot side and 1/3 down from the ceiling.
As a secondary check and to be sure of the temperature gradient in your enclosure we recommend having a thermometer in the warm end.
Setting up the UVB
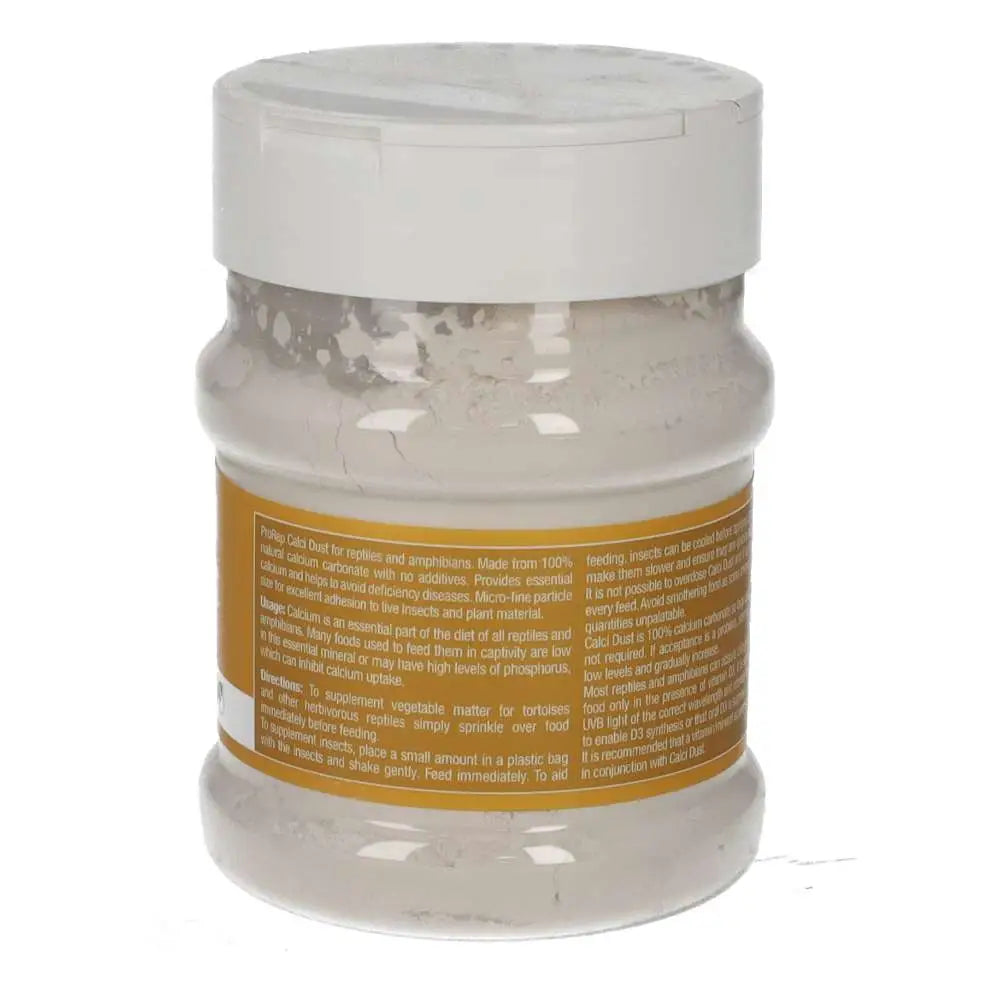
UVB is very important for reptiles as it allows them to produce their own vitamin D and use the calcium in their diet. Without the correct UVB levels some reptiles can become very poorly. All of the UVB in this setup is provided by a UV tube and reflector. To set this up you will need to open up your UV controller. Inside you should fine that it has one plug and two wires ending in connectors. Feed the connectors into the enclosure using the top vents and leave them dangling inside. Once they are in the enclosure you can fix the reflector to the ceiling. Simply screw the reflector into the ceiling as far back as possible leaving an inch on either end. The reflector is in a J shape, you want to fix it so the longest side (top of the J) is at the closest to the ceiling and facing toward the front of the enclosure.
Once this is in place you can attach the connectors to the tube and clip the tube into your reflector. T5 lamps are a little more difficult so you will need to remove the waterproof cap on the connector, place it onto the tube leaving yourself a few inches of space. You then line up the pins on the tube and connector then press in until you hear a small click. When you hear this click bring the cap down the tube making sure not to relieve pressure on the fitting and screw it in place. It needs to be very tight to ensure the connection is made.
We would usually use a 6-10% lamp for this species as long as there is plenty of partial cover. If you can't provide enough cover it would be better to use a 5-6%.
Misting the enclosure
This species will appreciate a sharp rise in humidity once or twice per day. A good spray will also allow them to drink. Spraying can be done manually or with a misting system, whichever method you use you will need to make sure that all trailing plants are saturated, water bowls are refilled and the spray goes on long enough that the humidity lasts throughout the day.
If you have any concerns or need any further advise please let us know.


