


How to Incubate Yemen Chameleon Eggs: 4 Steps for Optimal Incubation
by Luke Tansley on in Chameleons
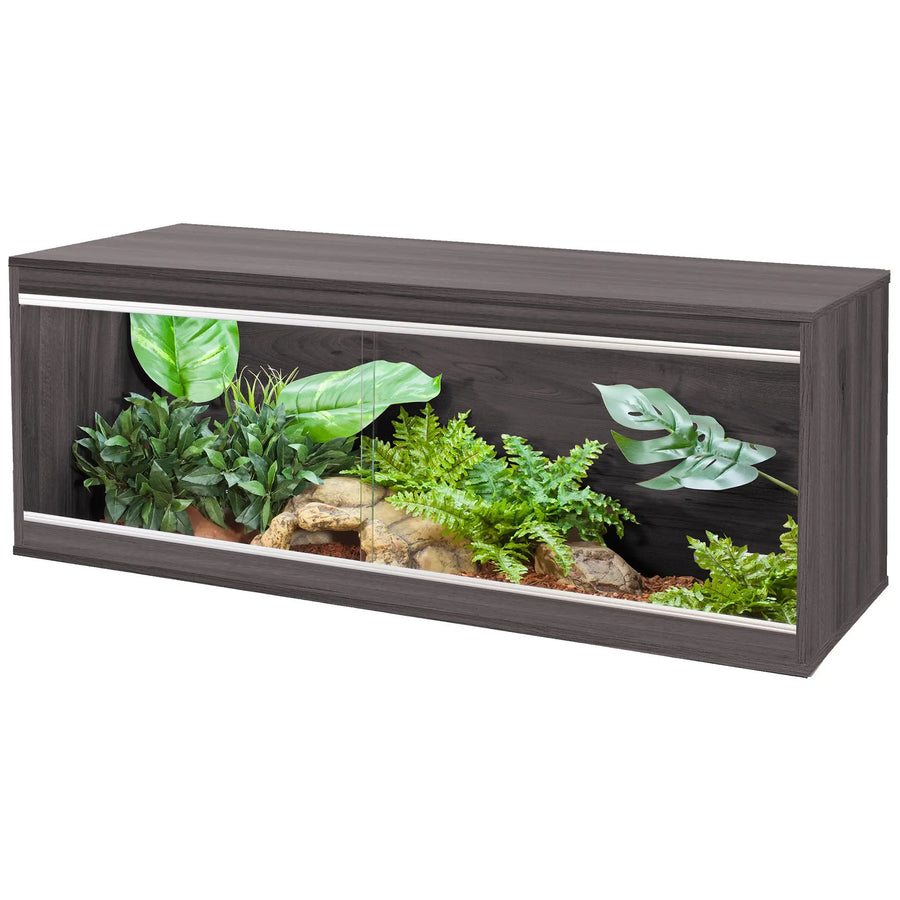
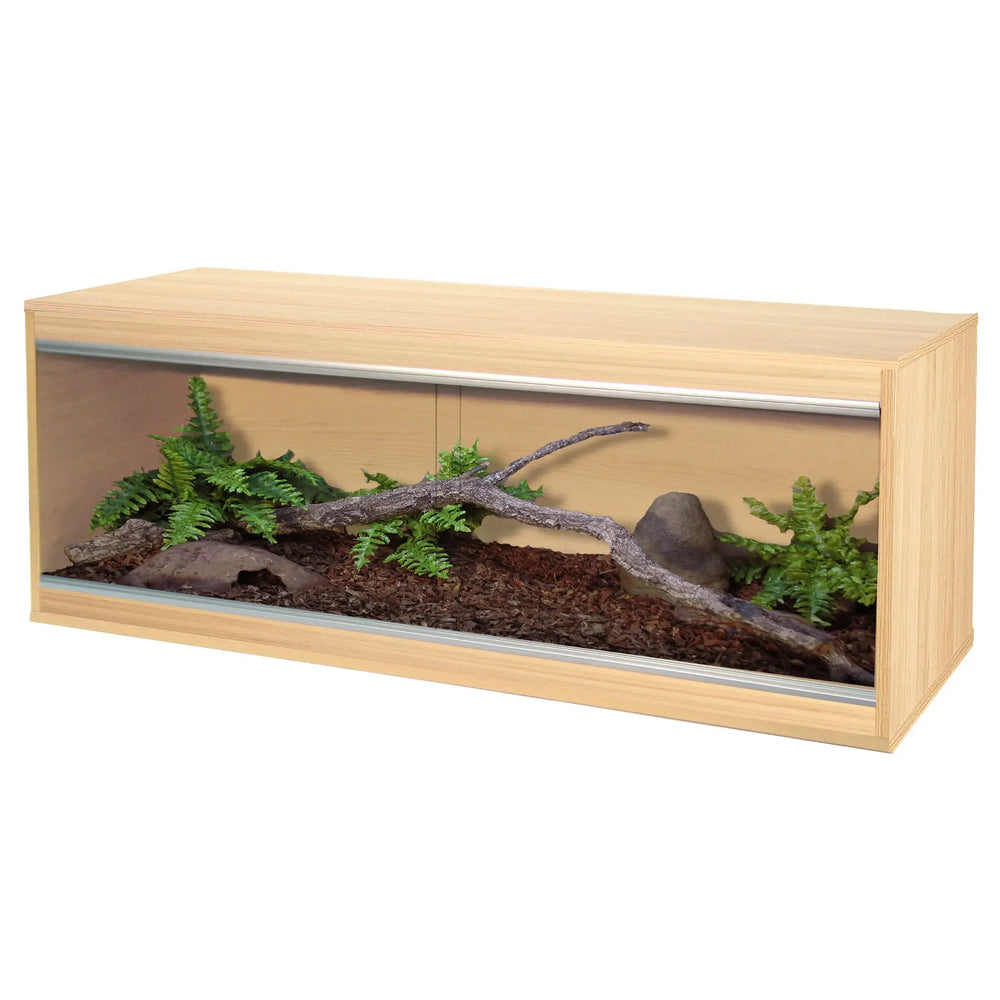
Unsure how to incubate Yemen chameleon eggs? Yemen chameleons, also known as veiled chameleons, are one of the most commonly kept chameleons in the UK as they are widely available, have great colours and are relatively easy to keep. At Northampton Reptile Centre, we recommend this species the most often. If you plan to go further with the hobby and breed your very own Yemen chameleons, this handy guide on how to incubate their eggs will ensure successful hatching.
1. Prepare Your Egg Box

Deciding which tub or medium to use, may seem like a very involved part of the setup, but it's actually very easy. You will need a heat-resistant plastic tub with no ventilation that will be airtight when the lid is on. It's best to check at this point that the tub will easily fit in your incubator. Give the tub a good clean with some reptile friendly disinfectant and rinse thoroughly with warm water. Once it's clean and dry you can fill it with an incubation medium. The most common ones would be vermiculite or a pre-made medium like HatchRite. If you use vermiculite, you will need to prepare it before adding to the tub. Simply follow the instructions provided on the packet. Make sure the vermiculite isn't wet as you don't want the eggs to come into direct contact with water.
Once your incubation medium is ready:
-
Fill the incubation containers/substrate tray about 3/4 full with your medium.
-
Press shallow thumb indents across the surface, leaving a small gap from the wall and between each indent.
-
Place Yemen chameleon eggs one per indent - don’t crowd; they’re small and need space.
-
Good spacing supports egg development and air exchange throughout the incubation period.
-
Seal and monitor at your target incubation temperature.
2. Collecting the Eggs

Handle the veiled chameleon eggs gently and keep each one upright, don’t rotate. Lift with your thumb and forefinger, support with your other hand, and set each egg into a pre-made indent in the incubation medium so it sits about one-fifth below the surface and can’t roll. Leave small gaps so the eggs don’t touch, This helps gas exchange and reduces the chance of weak hatchlings. Label the tub and keep a simple log of incubation temperature and humidity.
Return the box to the incubator in the same orientation every time. Warmer zones often hatch first, so a few days’ spread is normal as the eggs hatch. Maintain the required temperature steadily, minimise disturbance, and prep hatchling care ahead of time. Tiny hatchlings start on small feeder insects like fruit flies, then scale up as they gain strength.
3. Setting Up the Incubator

Your incubator should have both heating and cooling functions and be accurate to within 1 degree Celsius. Having both heating and cooling means the incubator can correct temperatures inside much quicker and deal with warm rooms much better than a unit with only heating. The most popular incubators we currently sell are the Exo Terra Incubation Box and the Exo Terra Precision Incubator Pro.
The incubator should be set to approximately 29 degrees Celsius and tested to make sure it works perfectly before you need it. The products are high quality and very reliable but mistakes in transit can happen and you want to make sure yours is definitely ready for when you need it. As a secondary check, you could keep another thermometer inside the incubator just to double check temperatures.
4. The Incubation

It's advised that you check your eggs as much as possible. We usually have a quick daily look but a good scan every week or so. You won't need to take the lids off very often and it's best to avoid interfering as much as possible as you may lose some heat or humidity. We usually just check on them through the door on the front of the unit.
The main things to keep an eye out for are how plump the eggs seem and if any of them have perished or are going bad. The eggs are usually plump while the humidity is available, but when this starts to drop you may see them sink a little and start to shrivel. To fix this, add a small amount of lukewarm water to one corner and check over the next few days to see if the condensation reappears and the eggs become plump again.
The eggs will need to breathe but don't need very much air. Once a fortnight or so we crack one corner to let the air recycle. The last thing to look for is discolouration on the egg. If an egg has perished or starts to go bad it will usually turn quite dark and shrivel up. We would usually keep these but isolate them from the rest of the clutch. It's always surprising how resilient they are and these eggs may still have a chance to come to term.
What Happens Next?

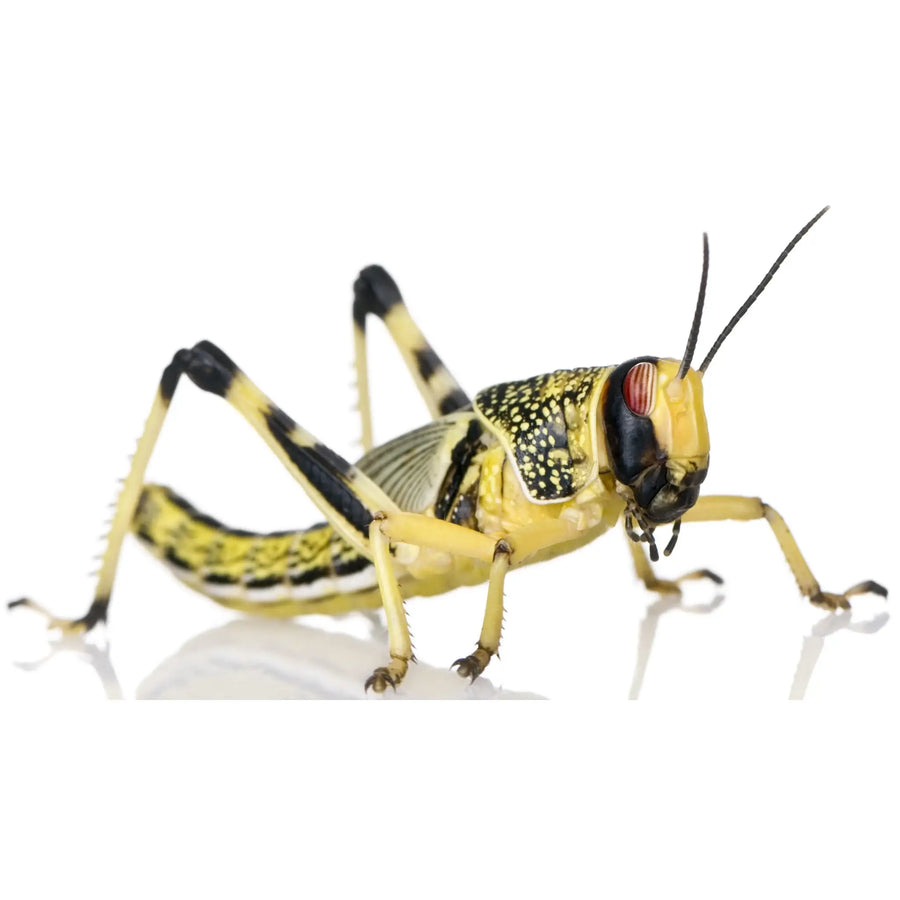
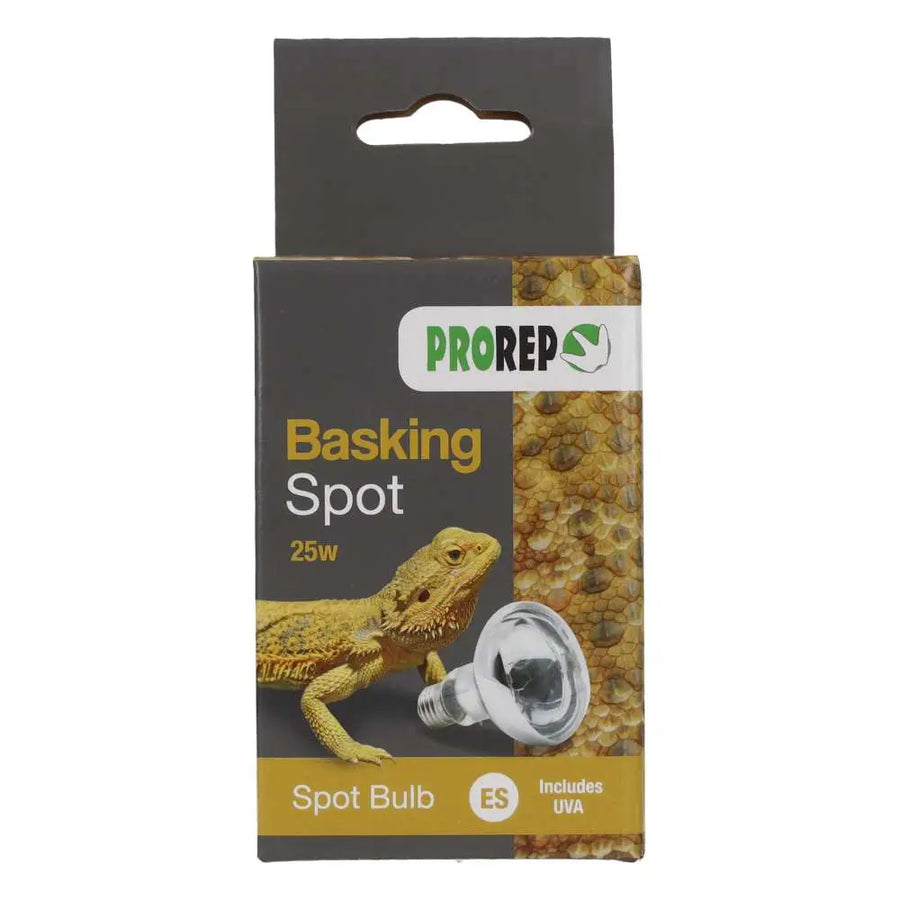
Expect your chameleon eggs to hatch in roughly 6–9 months. A hatchling will slit the shell, rest while the remaining fluid absorbs, then emerge and sit on the medium. This is completely normal. Resist the urge to assist; clutches often hatch over several days. Once out, move baby chameleons gently to their own enclosure, and keep them warm with a gentle, bright but indirect light, and appropriate UVB light.
For first meals, offer tiny feeder insects such as fruit flies, then scale up to small crickets or dubia roaches as they gain strength. Provide frequent fine misting or a drip system so they can drink from leaves, and avoid standing water dishes. If you’re unsure at any stage, we’re here to help. Email sales@reptilecentre.com, call Northampton 01604 753823 or Towcester 01327 350088.


